Zum Gali Gali Rubber Stamps

presents

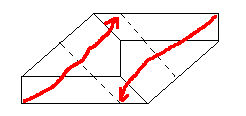
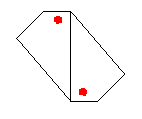
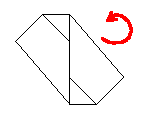
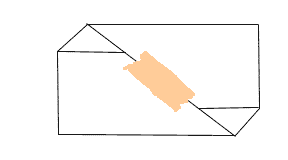
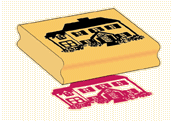
A letter that's its own envelope


step 1
Start by folding your letter in half and unfolding again. In my pictures the dotted lines always indicate fold lines, and all folds are valley folds (that is, leave the middle of the fold down, fold the corners or edges of the paper upwards).

Fold diagonally opposite corners to the center along the new dotted lines. The edges of the paper should line up with the center fold.
step 2

step 3
Now your project should look like this. You're one third done.

Fold the top edge (marked "A") down to the edge that's folded in (also marked "A") along the dotted line marked "AA", and the bottom edge (marked "B") up to the edge that's folded in (also marked "B") along the dotted line marked "BB". I know it's hard to read the A's and B's, but the pointy ones are A's, OK?
step 4

step 5
Now the project looks like this. You're two thirds done!

Fold one corner up and the other down along the dotted lines. The edges line up with the center fold again.
step 6

step 7
Your project looks like this now. You're done folding, but not quite done with the envelope. Under each corner marked with a red dot there's a little pocket. Tuck each corner into its pocket.

I drew that little rotation arrow to show that the project is on the diagonal of what you may expect. Spin the project one eighth of a turn counterclockwise to match the next picture.
step 7

add a bit of tape and you're done
That's all there is to it. Add a piece of cellophane tape along the fold, or a decorative seal, if you're going to send the envelope through the mail. (I must have been thinking of the old Scotch brand tape that turned yellow after a while). Turn it over and address the other side. You'll probably feel like putting the stamp on the diagonal! If you do this with all the junk mail you get today, just for practice, you'll have learned the fold.

Project introduction Back to
Things To Do page
Home